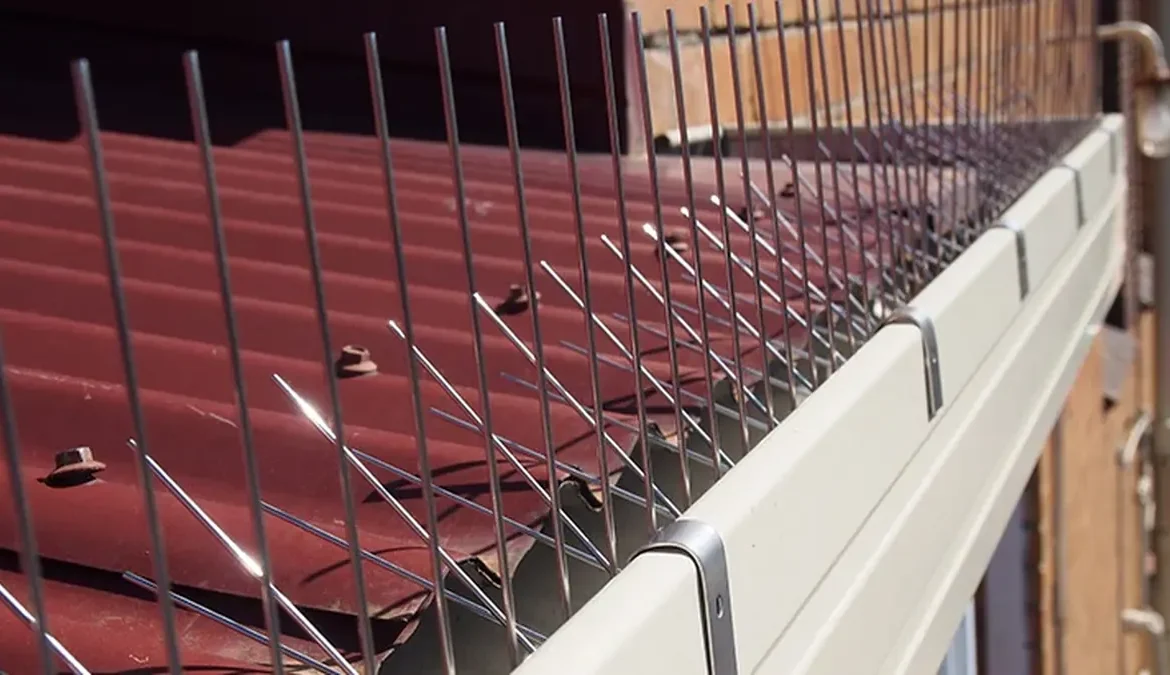
How do you bird-proof solar panels without drilling? First identify the landing points and open gaps, then use a non-penetrating fixing approved for the exact panel, rail and roof surface. Protect the array perimeter and nearby ledges while leaving ventilation, drainage, wiring and service access unobstructed.
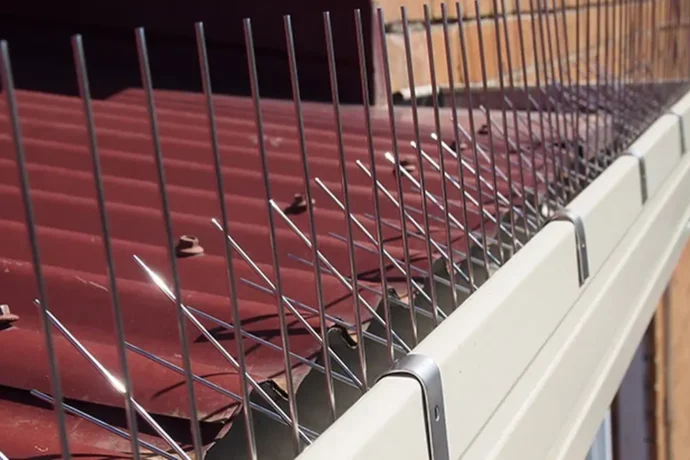
A solar panel bird deterrent works best when it follows the real approach path: the panel edge, nearby gutter, rail and any short return. Treating one long side while leaving a foothold nearby can simply move bird activity to another part of the array.
Do not drill photovoltaic glass, laminate, junction boxes or active frames. Roof work, electrical work and work at height should follow the site permit and be completed by suitably qualified people.
1. Inspect the array before choosing a product
Look for droppings, feathers, twigs and repeated bird movement around the panel edge, roof gutter, rails and cable trays. Check whether birds are landing on top of the array, entering the gap beneath it, or using a nearby wall or aerial first.
Confirm the panel frame profile, rail spacing and available fixing points. Take photos from several angles. If an active nest is present, stop and follow local wildlife and site-management requirements before installation.
2. Measure the unprotected edge
Record the full perimeter you intend to protect, including short returns, corners and joins. Measure the width of each surface: a surface too narrow for the base may need a different bracket. Add a small cutting allowance to the total material estimate.
3. Select an approved fixing method
Use purpose-made panel-edge clips only when they match the manufacturer-approved rail and frame. A suitable cable tie may secure a lightweight section to a compatible rail, but ties must be UV-resistant, correctly tensioned and kept away from cable insulation. A compatible adhesive may suit some clean, sound metal surfaces, but it should not be assumed suitable for hot or coated panel frames.
The panel installer should confirm the final fixing. The objective is to keep the spikes stable without compressing, bending or abrading part of the photovoltaic system.
4. Fit the perimeter in a continuous run
- Isolate the working area. Use safe access and follow electrical and working-at-height rules.
- Dry-fit the strips. Check direction, joins, corners and access to service points before fixing.
- Prepare compatible surfaces. Remove dust and loose material where the approved fixing requires it.
- Fix without penetration. Attach clips, approved ties or adhesive only at agreed points.
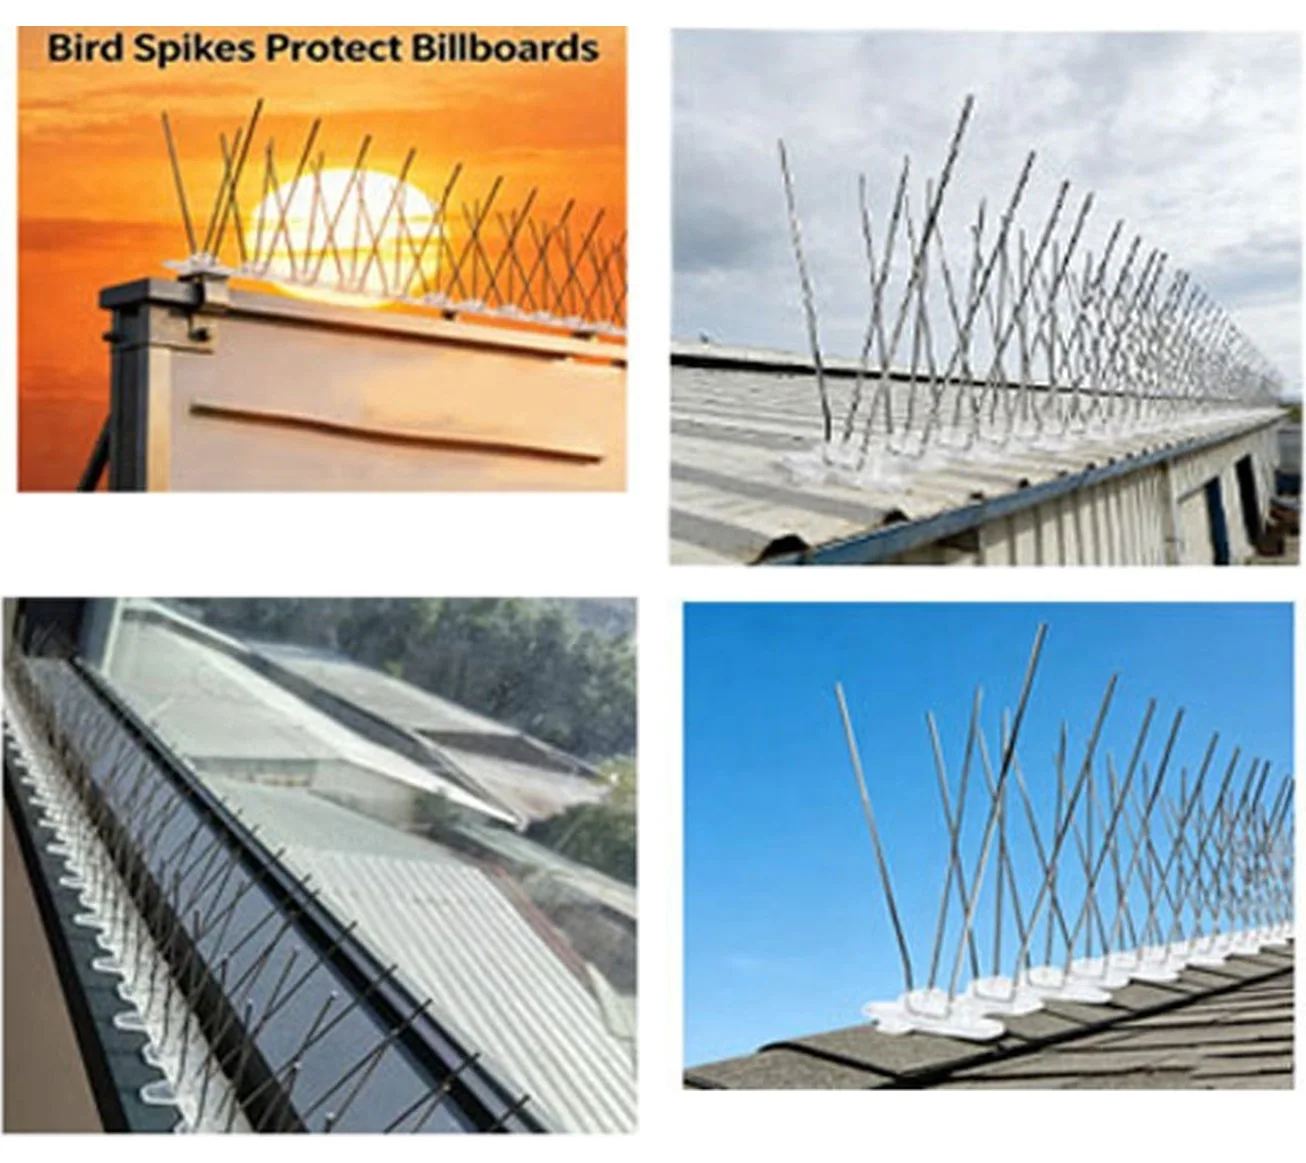
- Close the gaps. Keep adjacent sections aligned and protect short approaches, not only the longest side.
- Check clearances. Confirm that water, air, cables, moving parts and maintenance routes remain clear.
5. Test and record the finished installation
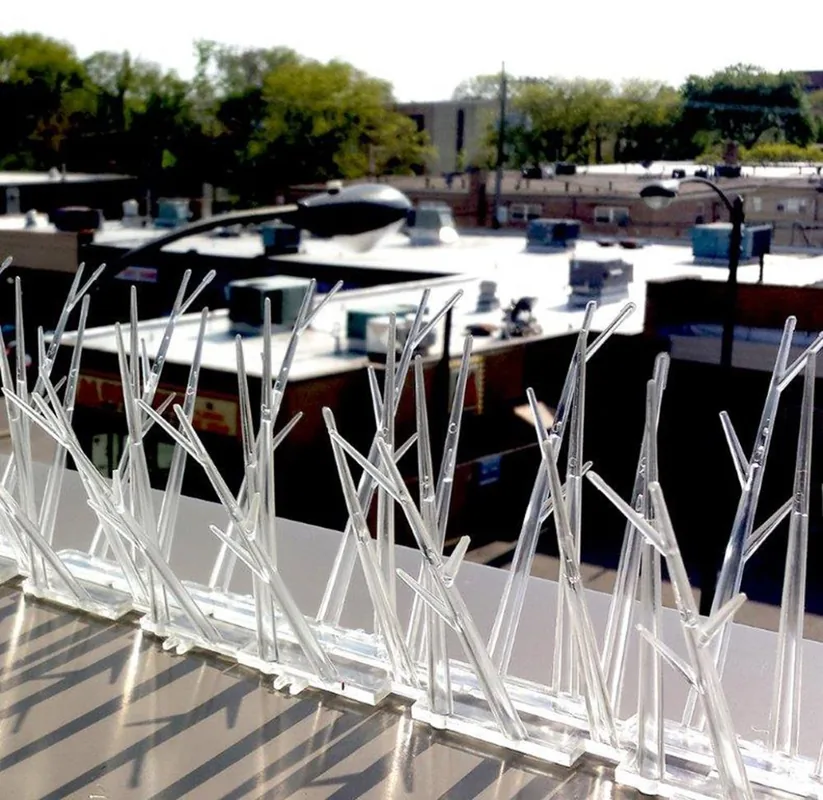
From a safe position, check that every section is stable and the base sits flat. Run water at the gutter or drainage route where appropriate, then confirm it still flows. Take completion photos showing coverage, fixings and clearance points.
- Recheck loose ends and joins after the first strong wind.
- Clear leaves and debris without pulling on the spikes.
- Record the product, fixing type and installation date for maintenance.
- Repair an open gap promptly; a short break can become a new landing point.
Where not to place solar panel bird spikes
Do not cover the glass with adhesive-backed strips, block the ventilation gap, place spikes where they could chafe cables, or restrict roof drainage. Do not attach a product to a component that is not approved for that load. More spikes are not automatically better when they prevent service access or damage the array.
Frequently asked questions
Can I stick bird spikes directly to solar panels?
Do not adhere products directly to photovoltaic glass. A compatible base and approved adhesive may be considered for a suitable clean metal edge, but the panel manufacturer and installer should confirm compatibility.
Will bird spikes affect solar production?
A perimeter installation should not shade the active cells. Keep product profiles outside the clear solar-collection area and follow the array designer’s shading requirements.
Do I need bird spikes on all four sides?
Protect every landing edge that birds use or can reach, including short returns and nearby ledges. A visual inspection of bird activity will show which approaches need treatment.
How are the strips maintained?
Inspect fixings after severe weather, remove debris and replace damaged sections. Follow the panel-maintenance schedule and avoid walking on modules or pulling cables.
Choose the right strip before installation
Compare the stainless steel bird spike strips, the clear PVC bird spikes and our solar panel bird spike buying guide. For broader roof and AC applications, see the existing general bird spike installation guide.
Need help selecting a panel-safe fixing?
Send photos of the panel frame, rail and roof edge, plus the protected lengths and destination. We can discuss strip formats and quotation quantities; final fixing approval remains with the system installer.
Topic cluster: Balcony, Window & Solar Bird Protection
Related bird control guides
- Solar Panel Bird Protection: How Spikes Help
- How to Keep Pigeons Out of a Courtyard Humanely
- Bird Control for Solar Panels: Why It Matters
Compare bird spike options by surface · View the full Bird Control Guide Library