Residential and commercial exclusion / opening survey
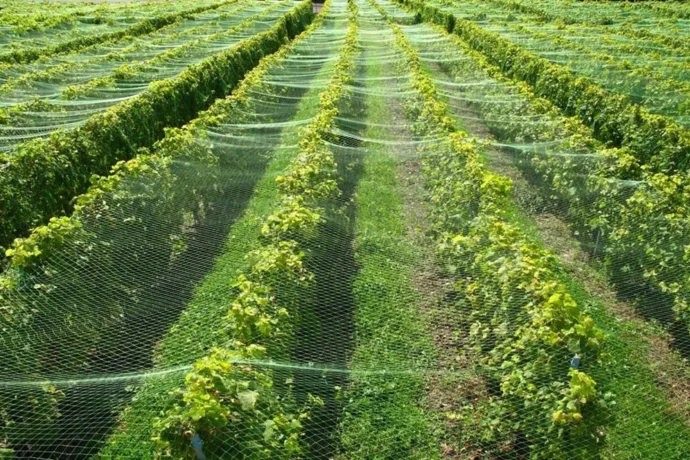
Bird netting for house and building openings is a physical exclusion measure: it closes a route that birds use to land, shelter or nest. The best installation starts with the opening, not the roll size. Measure every return, choose mesh for the target bird and support the net where it cannot safely touch glass, render, drainage or moving parts.
The same survey method applies to residential bird netting and commercial bird netting; the fixing detail is what changes. For bird netting for buildings, record the full opening and the maintenance route before choosing bird proofing netting.
When is bird netting for house openings the right choice?
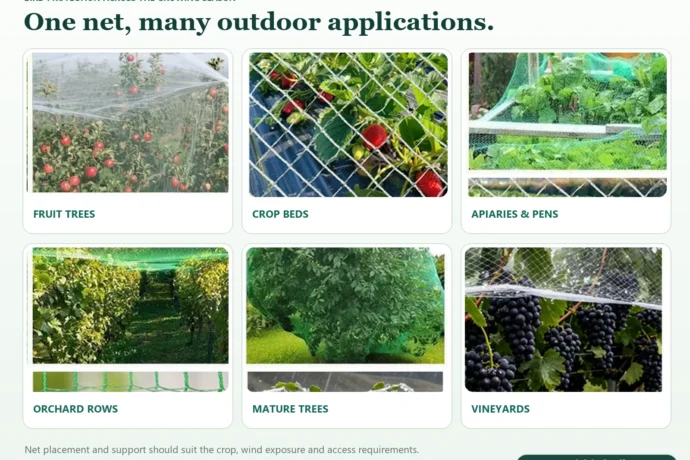
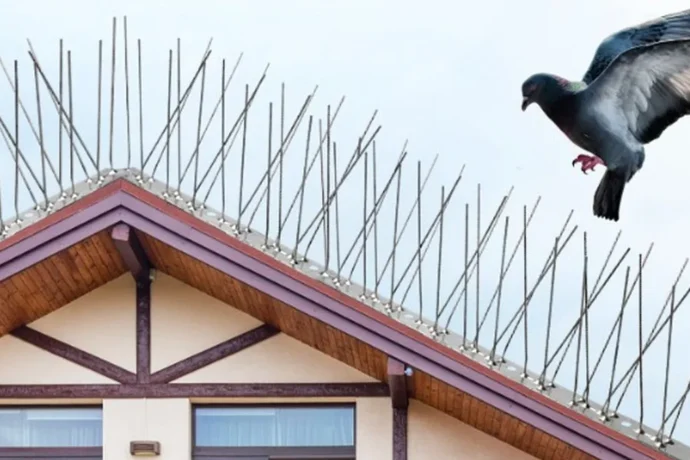
Netting works best when birds can enter or occupy a volume: an open balcony bay, a carport, a courtyard, a covered walkway or a loading area. It is less suitable for a narrow ledge where birds only land, because a correctly installed row of bird spikes is usually simpler.
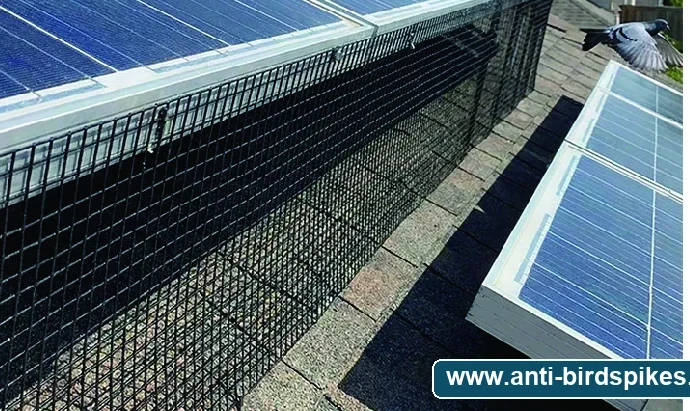
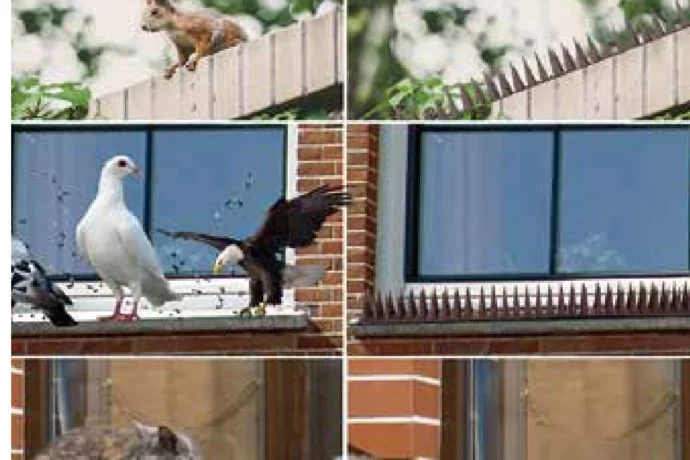
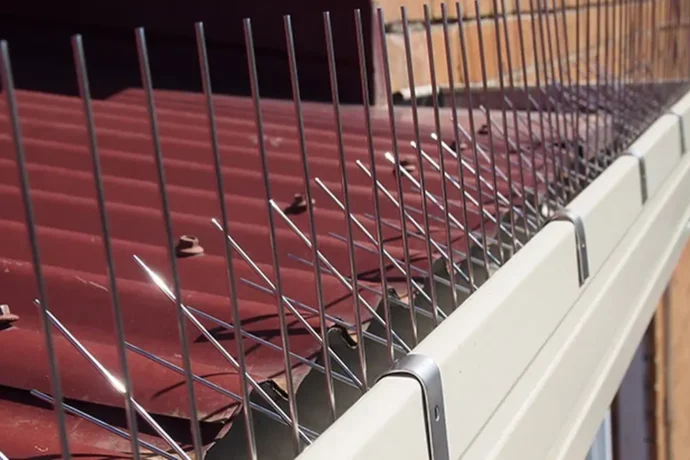
The key distinction is exclusion versus landing control. Netting blocks a route. Spikes interrupt a perch. Rigid mesh can close a small vent or eave gap when the fixing surface is suitable. Do not use flexible netting to cover a heated vent, an emergency exit or equipment that needs regular service.
| Site condition | Usually suitable | Check before ordering |
|---|---|---|
| Open balcony or courtyard | Supported perimeter netting | Door swing and fire access |
| Carport or covered passage | Framed or wire-tensioned netting | Wind load and frame condition |
| Small eave or vent gap | Rigid mesh or purpose-made cover | Airflow and cable clearance |
| Narrow window ledge | Bird spikes or another ledge method | Fix only to a stable surface |
Measure the opening, not just the wall
A photograph from ground level rarely shows the real shape of the protected zone. Make a simple elevation sketch and mark:
- Clear width and height: measure between permanent fixing surfaces, not from decoration or loose trim.
- Corner returns: add each side return. Corners are where loose mesh most often creates an entry gap.
- Surface type: record masonry, metal, timber, composite or delicate finishes so the fixing can be specified.
- Services: mark lights, cameras, vents, drainage, cables, alarms and access doors.
- Wind exposure: note open sides and prevailing wind. Large unsupported panels need a reviewed support grid.
- Maintenance route: decide where a removable panel or service opening is required.
Use the largest measured span and add an allowance for edge fixing and overlap. A net cut exactly to the opening usually becomes tight in one direction and slack in another.
Choose mesh and fixing for the target bird
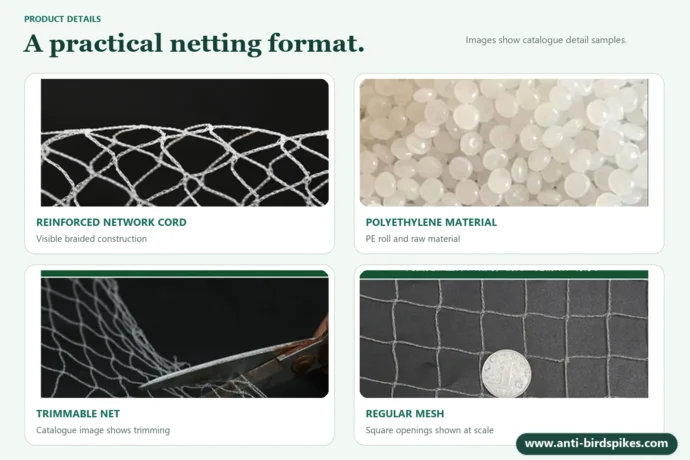
Ask the supplier to confirm the mesh opening in millimetres. It should be small enough that the target bird cannot pass through, while still allowing inspection. As a planning reference, roughly 19–20 mm is often associated with small-bird exclusion, while larger openings may suit pigeons only when the site and product are specified for that use. Product images alone are not a specification.
On buildings, use anchors appropriate to the substrate. Masonry, steel, timber, render and fragile fascia need different fixings. Tensioned cable or a light support frame can distribute load where direct edge fixings would pull the façade or create too much unsupported net. Avoid drilling into glazing, waterproof membranes or unknown services.
A safe planning sequence
- Survey from a safe position. Note every opening and check for active nests.
- Draw the fixing line. Confirm that each anchor lands on a sound surface.
- Dry-fit the route. Set corners and service openings before cutting.
- Install supports first. Keep the net away from sharp edges, wiring and moving parts.
- Tension evenly. Remove pockets without bowing frames or pulling façade finishes.
- Inspect the perimeter. Walk every edge and confirm that no gap remains.
- Plan maintenance access. Record how filters, lights and drainage will be reached.
When not to use netting
Do not cover an occupied nest without advice, and do not install a barrier that can trap a bird inside. Check local wildlife rules before work. For working buildings, the installation also needs to preserve fire escape routes, ventilation, roof access and equipment servicing. Where the birds only land on a narrow edge, compare bird spikes.
Maintenance after installation
- Inspect corners, tension lines and anchors after high wind.
- Remove leaves or debris without pulling the mesh away from its fixing.
- Check that doors, vents, drains and maintenance routes remain clear.
- Repair small tears before they become an entry route.
- Review the installation if equipment, cladding or roof access changes.
Frequently asked questions
Is bird netting suitable for every house?
No. It suits an opening or volume that birds use. A narrow ledge may need spikes, and a fragile or inaccessible façade may need a site-specific fixing design.
What mesh size should I choose?
Confirm the opening with the supplier for the birds on site. Do not select from a photograph or assume that one mesh size suits every species and application.
Can netting be fitted without drilling?
Some installations use clamps, cable systems or existing frames. The safe choice depends on the structure and wind load; never rely on an untested adhesive where failure could create a fall hazard.
What details should I send for a quotation?
Send the opening dimensions, photographs from several angles, fixing surfaces, target bird, quantity, delivery country and any access or service requirements.
Send the opening size, fixing surface, target bird and delivery country.
Email: winnie@anti-birdspikes.com or info@anti-birdspikes.com
WhatsApp: +86 132 0535 1335
Prepared by the Anti-Birdspikes product team · Reviewed November 7, 2026. This guide provides general planning information. Confirm structural fixing, working-at-height safety, electrical clearance and local wildlife requirements with the responsible professional.