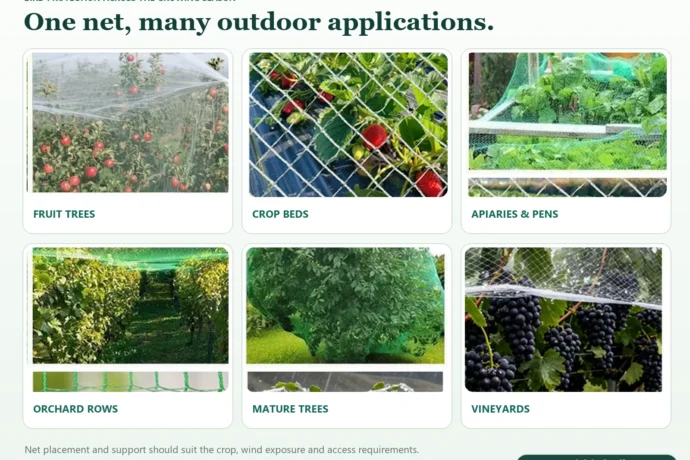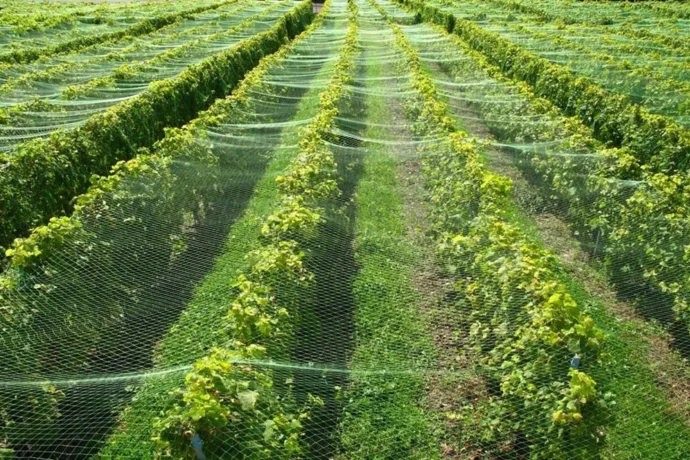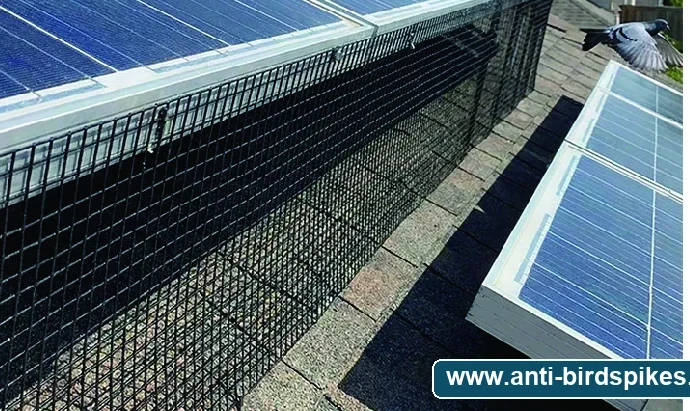
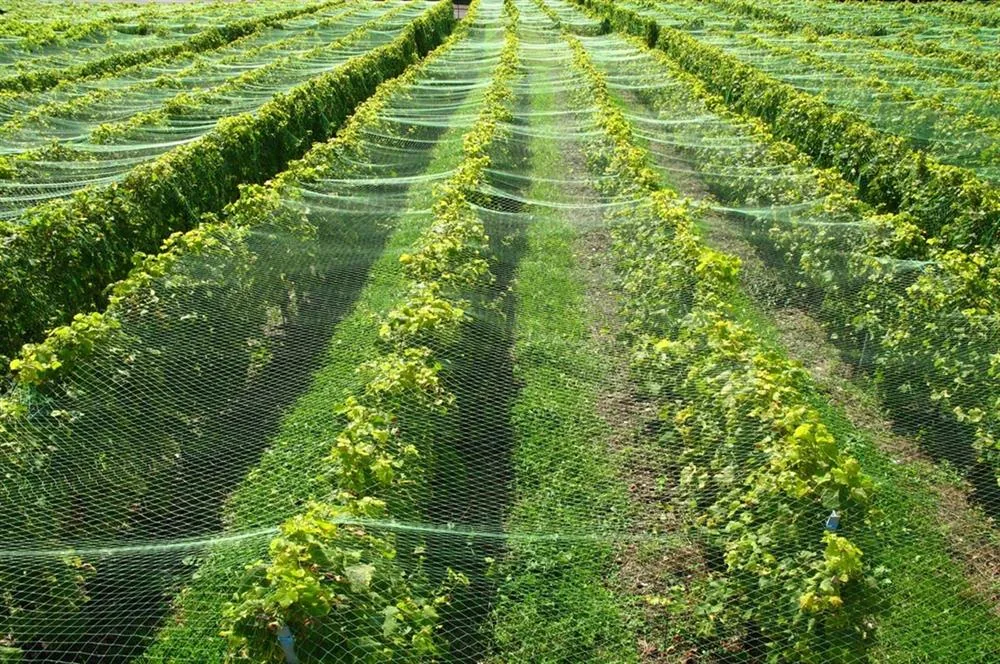
Pigeon netting is a physical exclusion system for open volumes: the underside of a canopy, a service recess, a loading area, a balcony bay or a roof opening. It succeeds only when the net is supported, tensioned and closed around every edge.
Quick answer
Pigeon netting should cover the complete opening with taut, supported mesh and a continuous fixed perimeter. It is used when birds enter or occupy a volume, while spikes are used on narrow landing surfaces. Preserve doors, ventilation, drainage and safe access.
- Define the open volume before selecting the mesh or fixing system.
- Support the net independently with frames, cables or sound fixing points.
- Close every perimeter gap around pipes, corners and service penetrations.
- Maintain doors, ventilation, lighting and maintenance access.
- Inspect immediately after installation and again after high winds.
What is pigeon netting?
Pigeon netting is a supported mesh barrier that prevents birds from entering a defined opening or occupying a sheltered space. It differs from a spike strip because it addresses access and volume rather than a single perch.
A net can protect a recessed balcony, a warehouse opening, a covered service walkway, the space beneath an external canopy or a roof area with repeated entry. The product is not a loose curtain. It needs a perimeter system and enough intermediate support to remain taut under wind.
Survey the opening before choosing pigeon netting
Measure the opening at multiple points, not only across the widest part. Note the substrate, pipes, lights, cables, signage and moving equipment that the perimeter must work around. Decide whether the net will sit flush with the facade or form a shallow enclosure.
- Entry route: where pigeons fly through or walk in.
- Roosting volume: the protected recess where they settle.
- Support structure: sound beams, posts, walls or independent cables.
- Access needs: doors, hatches, maintenance routes and emergency exits.
For a commercial site, use the building survey checklist and record access equipment, overhead hazards and work permissions before ordering.
Pigeon netting versus spikes and other barriers
The decision begins with bird behaviour. Pigeons may perch on a narrow ledge, nest in a recess or fly through a broad opening. A product that solves one pattern may not solve another.
| Problem | Netting | Spikes | Practical note |
|---|---|---|---|
| Open balcony or recess | Good fit when fully supported | Only for nearby ledges | Keep furniture and door access clear |
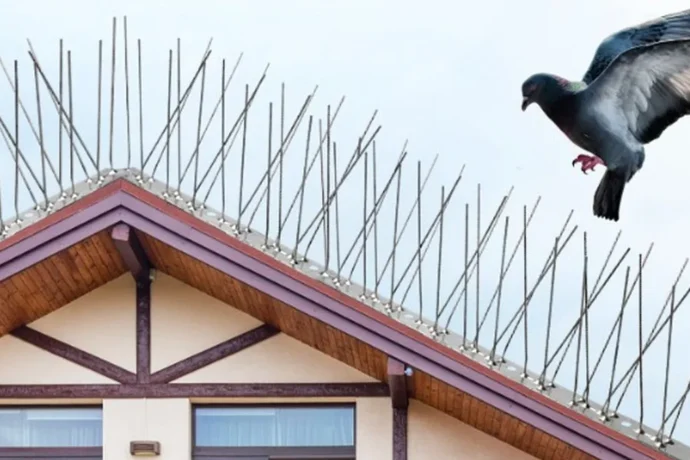
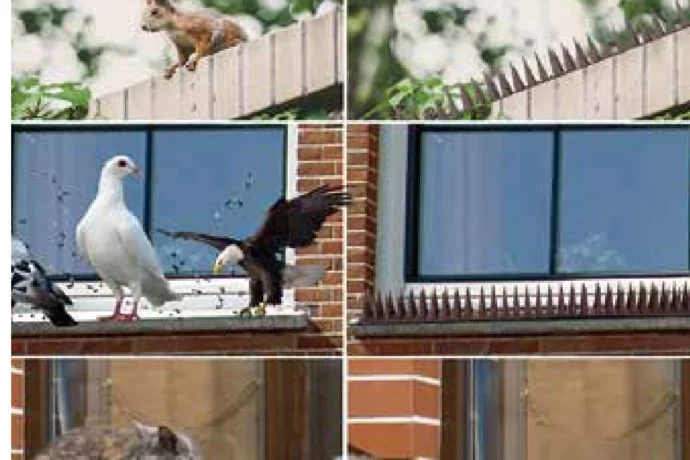
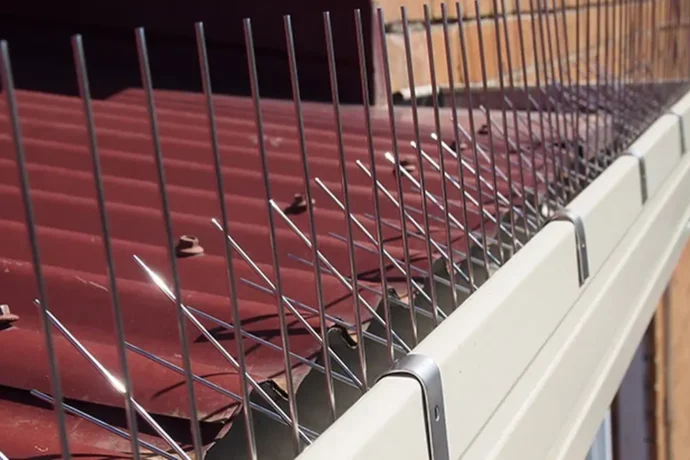
| Narrow roof edge or rail | Usually unnecessary | Strong fit | Measure the full landing depth |
| Ventilation or service opening | Needs careful mesh and airflow planning | Not a closure | Do not reduce airflow without specialist advice |
| Movable door or loading bay | Requires a designed removable panel | Not a route closure | Keep operation and safety systems clear |
Read the full spike and netting comparison if the site has both perches and open entry.
Specify mesh, strength and colour
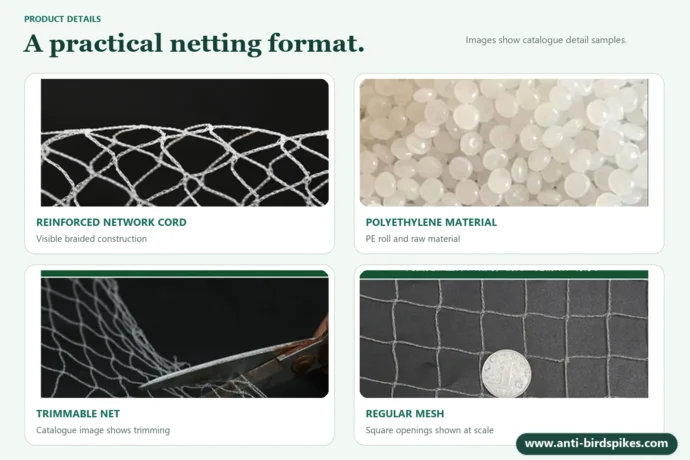
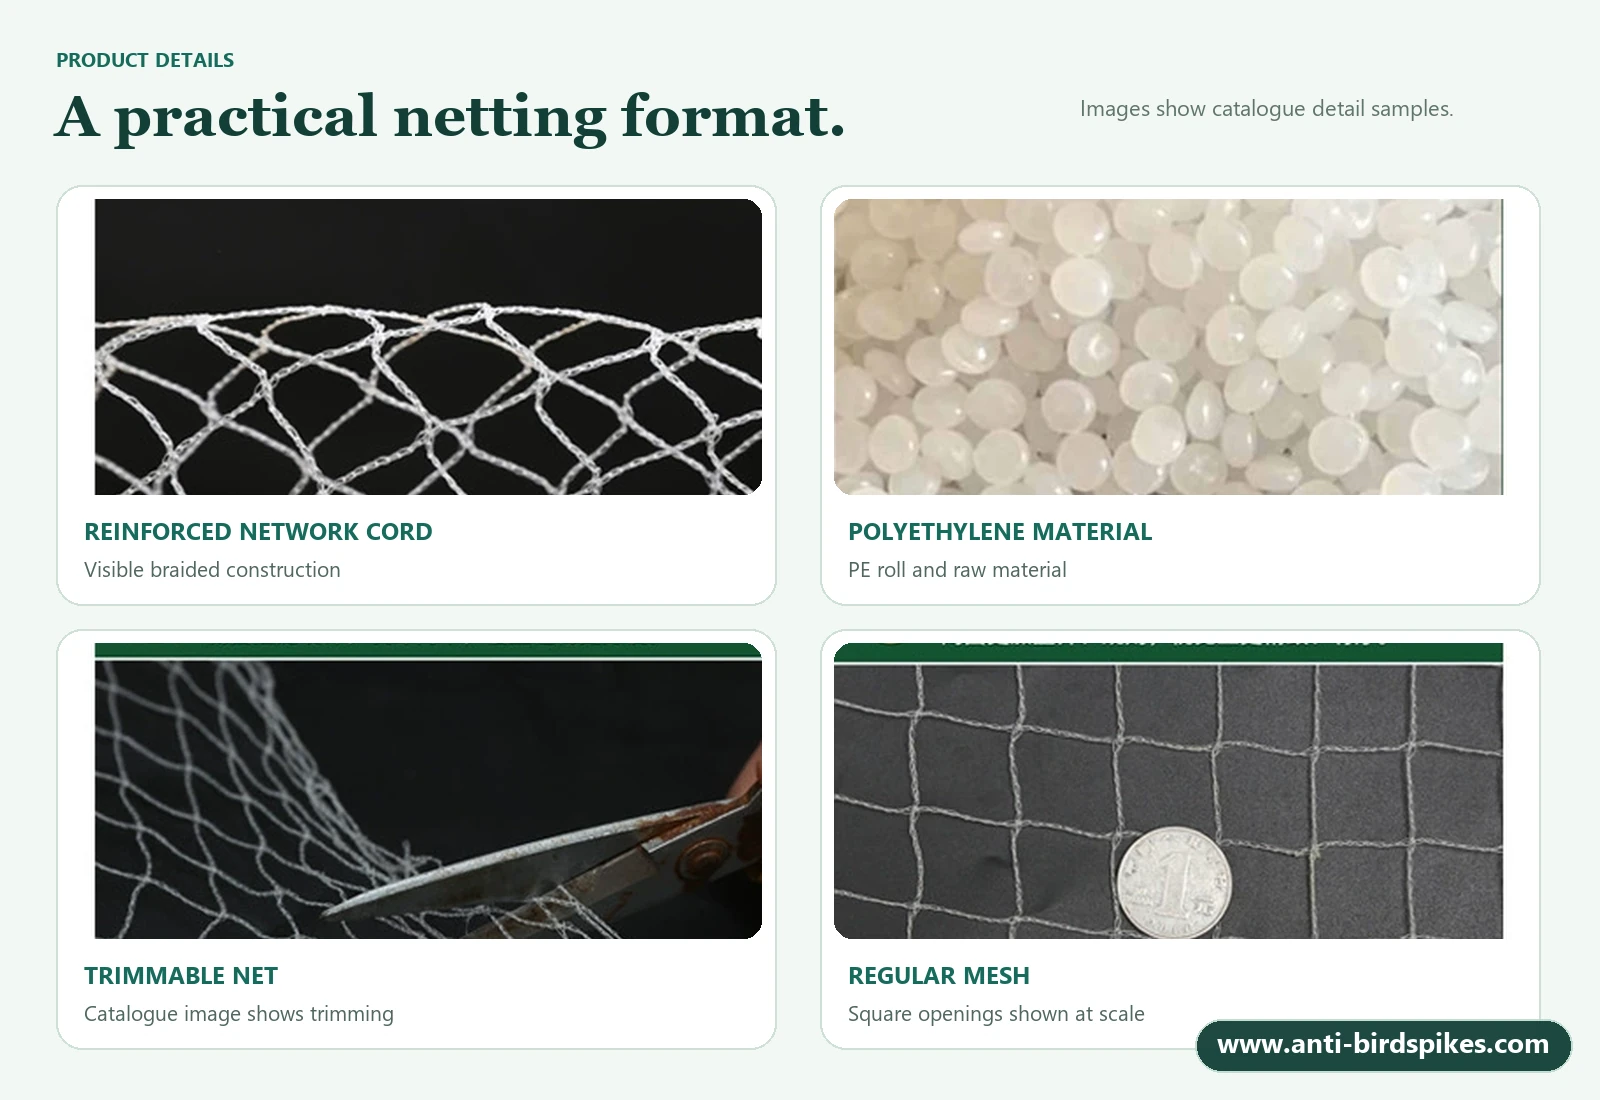
The mesh opening, cord, colour and roll width should be confirmed for the target birds and site exposure. Smaller openings reduce the chance of entry, but the practical specification must still allow efficient installation and inspection. Ask the supplier to state the mesh and material, not only the roll size.
Dark or matching colours can reduce visual disruption on building facades, while a contrasting edge or temporary marker can help installers see the net during work. Confirm whether the chosen product is intended for exterior UV exposure and how repairs should be made.
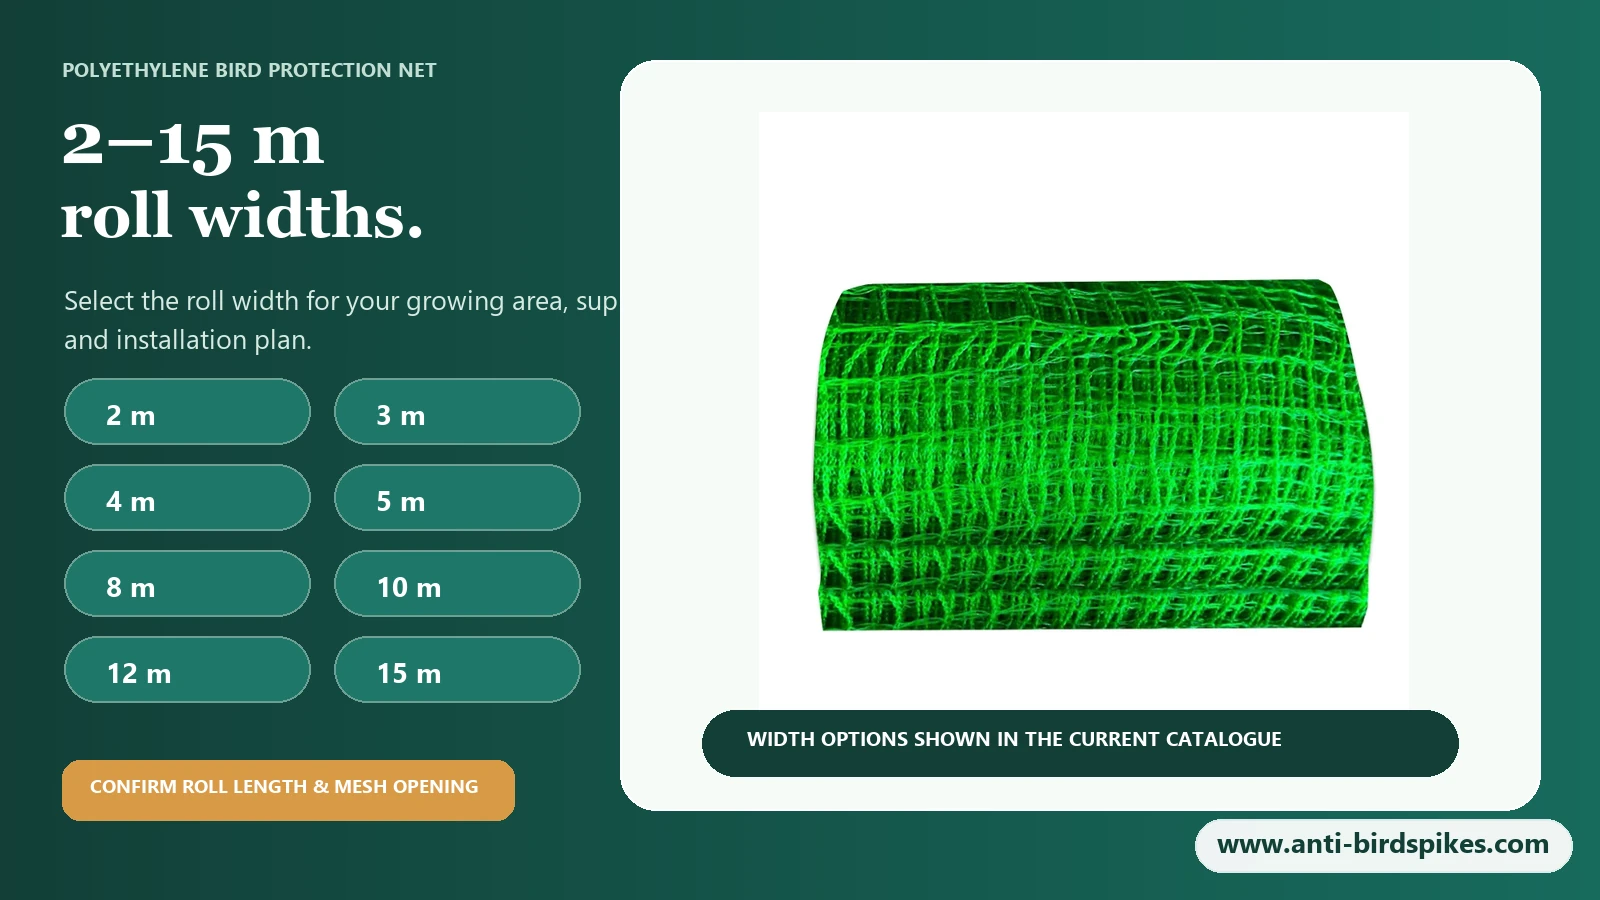
Our polyethylene bird protection net is available in a 2–15 metre roll-width range. Final suitability depends on the opening, support layout and target bird, so review the specification against the measured site.
How to install pigeon netting as a supported system
- Mark the perimeter. Set out all anchors, corners, cable routes and service penetrations.
- Build the support. Fix sound brackets, frames or tensioned cables rather than relying on the net to span unsupported distances.
- Dry-fit access points. Plan doors, hatch panels and maintenance openings before cutting the net.
- Attach from a stable edge. Work from safe access equipment and follow the manufacturer’s sequence.
- Tension the field. Remove sagging pockets while avoiding point loads that distort or tear the mesh.
- Close the perimeter. Tie or clamp every edge and inspect penetrations for gaps.
- Inspect immediately. Confirm that no bird or other animal is trapped and that doors and ventilation remain usable.
Protect people, wildlife and building systems
A loose net can entangle birds and other wildlife. A complete installation must stay tensioned, with no open pockets or loops. Inspect promptly if a bird becomes trapped, and stop work where an active nest or protected species may be affected.
Keep clear of lights, sprinklers, security sensors and fire systems. Do not change ventilation without advice. Where the protected area is occupied, make sure the appearance, clearance and emergency routes have been reviewed by the property owner.
Protected birds, nests and eggs are subject to location-specific rules. Seek current advice from the relevant wildlife authority or a qualified professional.
Inspect pigeon netting after wind and seasonal change
Check fasteners, cables, edge ties and mesh tension. Look for debris, abrasion, ultraviolet degradation and changes made by other trades. Tree growth, new cables and additional services can create fresh gaps.
Repair with compatible materials and restore the full closure, rather than tying a temporary patch that leaves a loose edge. The weather inspection checklist helps adapt the review to the exposed site.
Build a pigeon netting project brief
A clear brief helps the supplier, installer and property team agree on the protected volume. Include a plan or marked photograph, the maximum span, the fixing substrate and the points that must remain accessible. Identify whether the net is permanent or must open for routine work.
State the target birds and the surrounding landing points. A net around a recess may expose a nearby railing or sign that also needs treatment. Add the work-at-height method, expected wind exposure and any facility rules for access or permits.
Ask for the product’s material, mesh, edge finish and packing method in the quotation. Keep a spare repair quantity if the site has high exposure. For a multi-building project, photograph each opening separately rather than applying one quantity estimate across every site.
Frequently asked questions
Does pigeon netting stop pigeons from landing on ledges?
It prevents access to the protected volume. Nearby ledges outside the net perimeter may still need bird spikes or another edge treatment.
Can pigeon netting cover a balcony doorway?
A designed removable panel may work, but everyday door access and emergency routes must remain clear. The exact layout needs a site-specific solution.
How tight should pigeon netting be?
It should remain taut and supported without sagging pockets. Final tension follows the product and support-system instructions.
Can netting block ventilation?
A close-fitting barrier can affect airflow. Plan around ventilation openings and seek specialist advice where building services or livestock areas are involved.
Continue with the right next step
Need a netting layout for an open area?
Send the opening dimensions, support structure, target bird, access route and delivery country. We can review the net format and perimeter requirements.
This guide is general planning information. Confirm local law, product suitability, electrical safety and safe access with qualified professionals before installation.