Survey / support grid / tension / inspection
A reliable bird netting installation begins before the first anchor is fitted. Measure the full opening, identify sound fixing points, dry-fit the corners and plan how the mesh will be tensioned. A net that looks tight from a distance can still fail at an untensioned corner, a sharp cable tray or a service opening that was cut too early.
Use the sequence below as a general how to install bird netting checklist. Bird netting fixing should suit the host surface, and bird netting tension must be checked at every corner. A delicate façade may need a reviewed bird proofing net installation rather than direct anchors.
What you need before starting
Bird netting installation: a six-step sequence
Complete the six checks in order. If a fixing surface, access route or service clearance cannot be verified, stop and revise the plan before cutting the mesh.
Step 1: measure the protected volume
Measure between the surfaces where the net will actually be fixed. Add every side return, recess and obstruction. For a balcony or shopfront, the widest opening is not always the relevant span: a doorway or equipment alcove can create a secondary entry route.
- Record width and height at the narrowest and widest points.
- Measure diagonals to check whether the opening is square.
- Mark protrusions and areas where the net must not touch.
- Allow extra material for edge fixing, corners and overlap.
Step 2: choose the support method
| Installation route | Best starting point | Main check |
|---|---|---|
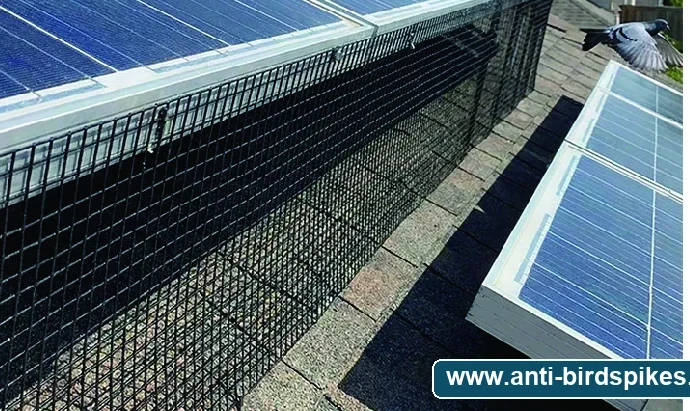
| Direct edge fixing | Small, rigid openings with sound perimeter surfaces | Anchor pull-out and edge spacing |
| Tensioned cable | Long openings and uneven façades | Cable load and corner restraint |
| Independent frame | Delicate finishes or large unsupported areas | Frame stability and wind load |
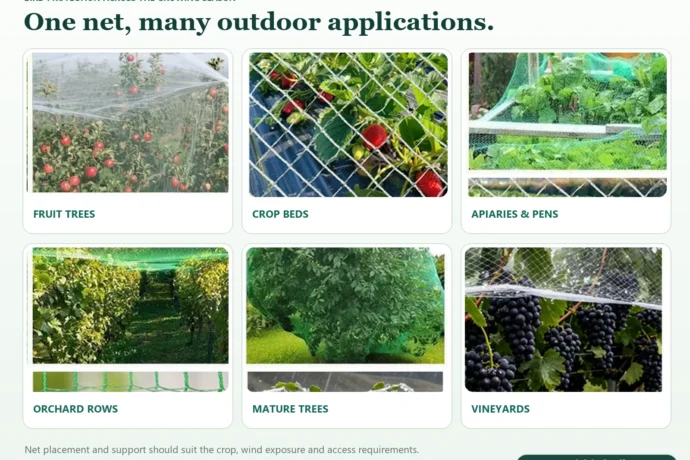
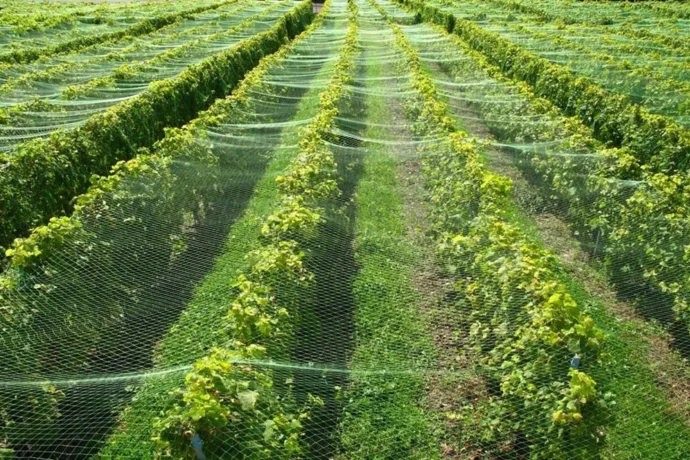
| Temporary cover | Seasonal garden or tree protection | Daily inspection and secure ground edges |
Step 3: dry-fit and mark every corner
Before cutting the net, unroll it in a clean area and compare it with the measured plan. Mark corners, supports, overlaps and access openings. Keeping the net square makes tension much easier to control. If the opening has irregular sides, create a simple template rather than stretching one edge to fit.
Step 4: install the perimeter first
- Fix the top support line. Work from a safe platform and keep the net clear of overhead hazards.
- Set the vertical edges. Establish the main corners before adding intermediate supports.
- Add the lower edge or anchors. Leave enough movement for inspection and avoid pulling against drainage or cladding.
- Fit intermediate ties or cable. Support the net where it would otherwise sag or touch sharp services.
Step 5: tension without stretching the mesh
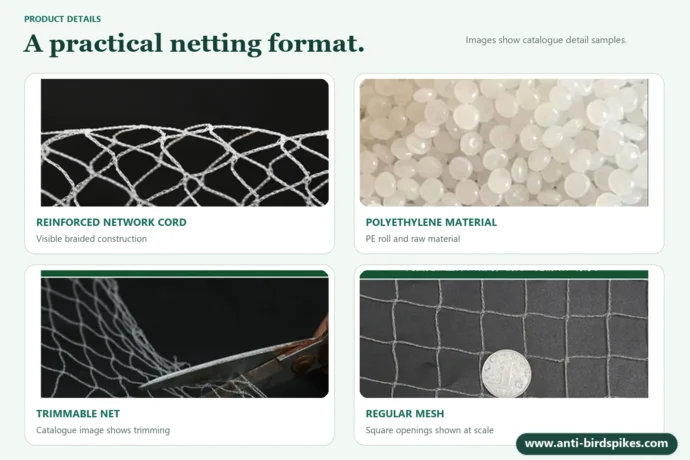
Correct tension removes loose pockets without distorting the mesh. Work from the centre outward and check the diagonals as you go. If one corner becomes tight while another stays slack, the geometry is wrong; reset the corner rather than pulling the entire net harder.
| Symptom | Likely cause | Practical correction |
|---|---|---|
| Loose pocket | Support spacing too wide | Add an intermediate support or cable |
| Open corner | Net cut short or tension uneven | Reset the corner and overlap the fixing line |
| Mesh distortion | Pulled diagonally | Release load, square the panel, then tension again |
| Fabric wear | Contact with sharp metal or vibration | Add clearance or a protective support |
Step 6: finish access points and inspect
Doors, vents, lights and service panels need a planned solution. A removable laced panel is easier to maintain than a hole cut into a tensioned section. Close every edge, inspect for trapped birds and check that all anchors engage the intended surface.
- Walk the entire perimeter at a safe height.
- Check the underside of every corner and transition.
- Confirm that drainage, ventilation and emergency routes are clear.
- Record fixing positions for future inspection.
When the work needs a professional design
Large façades, rooftops, public buildings, high-wind areas and installations above occupied spaces should be reviewed by a suitably qualified contractor. Working at height, structural fixing and electrical clearance are not generic DIY steps. Follow local fall-protection requirements and stop if the host surface or equipment cannot be verified.
For product options, browse the Bird Netting category or compare the polyethylene bird protection net.
Frequently asked questions
How much net should I order?
Use the largest measured width and height, then add an allowance for corners, overlap and fixing. Send the dimensioned sketch to the supplier so the roll quantity can be checked against the actual layout.
How tight should bird netting be?
It should be taut enough to remove entry pockets without visibly stretching the mesh or distorting the frame. Support spacing and tension depend on the product, span and wind exposure.
Can I join two nets?
Joins are possible with the correct cord and overlap method, but they create another point to inspect. Ask the supplier for the approved joining detail rather than tying unrelated sections loosely together.
When should the net be inspected?
Inspect after installation, after severe weather and during normal maintenance. Check anchors, corners, service openings and contact points for wear.
Send dimensions, photographs, fixing surfaces, quantity and delivery country.
Email: winnie@anti-birdspikes.com or info@anti-birdspikes.com
WhatsApp: +86 132 0535 1335
Prepared by the Anti-Birdspikes product team · Reviewed November 7, 2026. Confirm working-at-height requirements, fixing suitability, wind load and product specification with the responsible professional.